
I spent two years wondering why my squats felt weak and my lower back was always the thing that gave out first. My legs were moving the weight, my core was braced, but something was missing. Then a physical therapist watched me warm up and said something that stuck: "Your glutes aren't doing anything." She was right. I had been walking up to a bar loaded with 225 pounds with glutes that were completely asleep from eight hours at a desk. Everything downstream paid the price.
Glute activation with resistance bands is not a complicated concept, but most people skip it because they don't have a clear protocol. You end up doing a few random squats, maybe a hip circle or two, and calling it warm enough. This guide gives you a five-step sequence that takes about eight minutes and makes a real difference in how your lower body performs. I have been running this exact warm-up before every squat and deadlift session for six months. The difference in knee tracking, hip engagement, and overall stability showed up fast, and it has been consistent since.
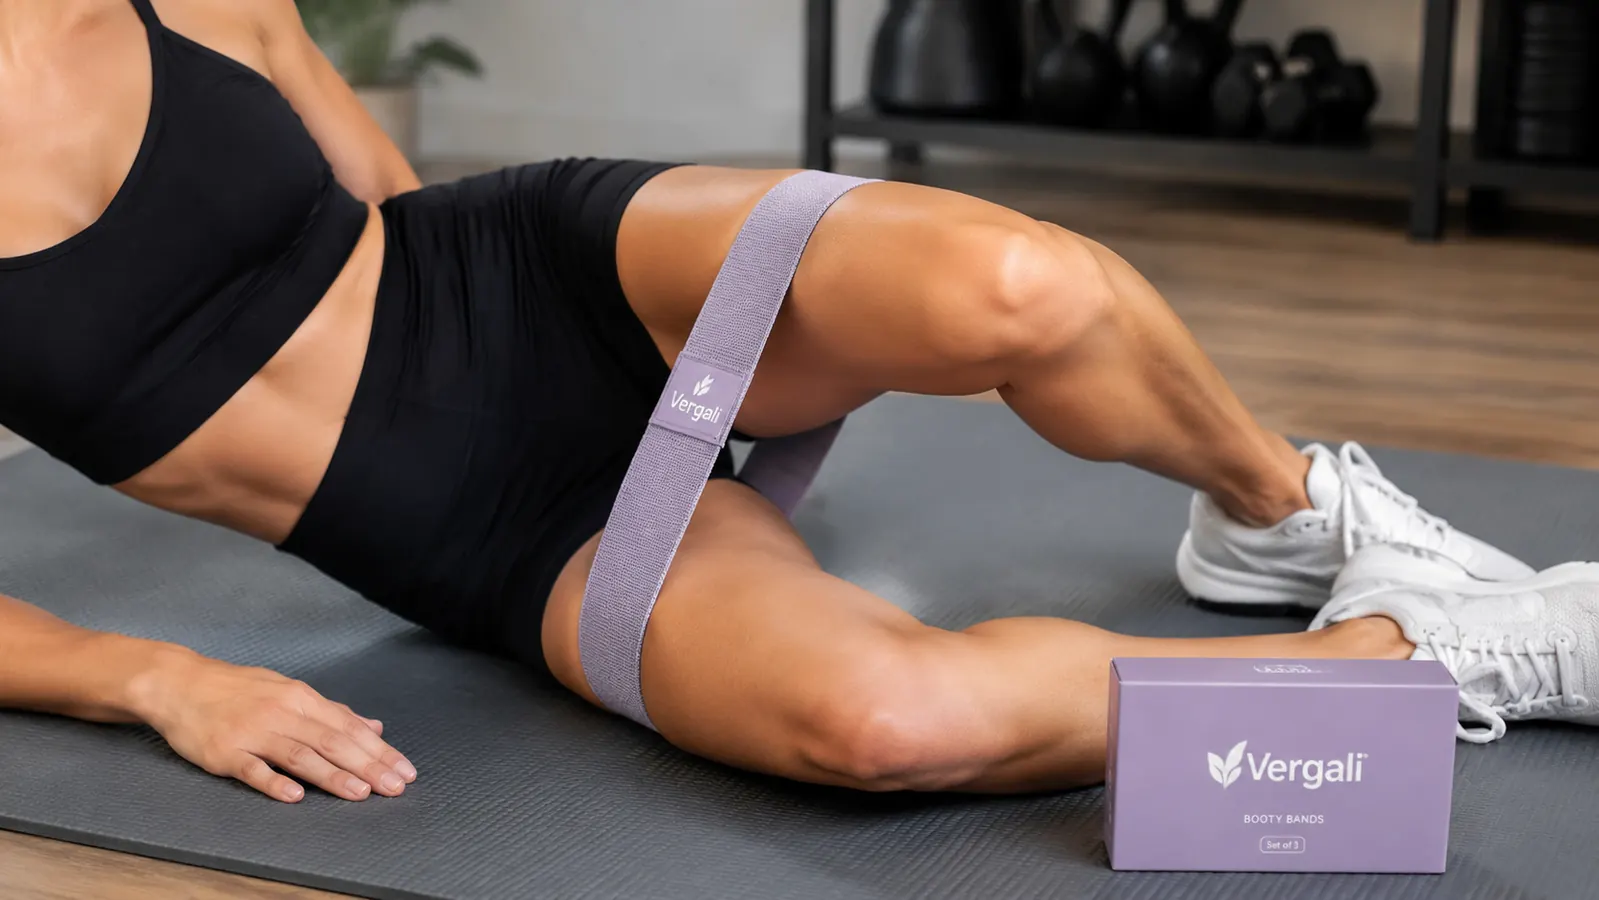
The band set I use for this entire protocol costs less than a single session with a trainer
The Vergali Resistance Bands set includes four resistance levels and a workout guide. The medium band handles most of these exercises. The heavy band is there when you're ready to make the activation harder. Rated 4.8 stars across 21,000-plus reviews on Amazon.
Amazon Check Today's Price on Amazon →Why Glute Activation Actually Matters
Your glutes are the largest and most powerful muscle group in your body. They control hip extension, stabilize your pelvis, and keep your knees tracking in the right direction during any loaded movement. When they're not firing properly, other muscles pick up the slack. Your lower back takes on more of the load during deadlifts. Your quads dominate squats and your knees cave inward under heavy weight. Hip flexors get tight because the glutes are too weak to counterbalance them.
The problem is modern life. Sitting for long stretches puts the glutes in a lengthened, passive position. Over time, the neural connection between your brain and your glutes gets lazy. This is sometimes called gluteal amnesia, and it's not an exaggeration. Your body genuinely forgets to use those muscles first. A targeted warm-up sequence with a resistance band forces that connection back online before you add load. You're not just loosening up the tissue. You're reminding your nervous system that the glutes are there and need to fire.
Step 1: Clamshells (2 sets of 15 per side)
Loop the light or medium Vergali band just above your knees. Lie on your side with your hips stacked, knees bent at about 45 degrees, and feet together. Keep your feet touching as you rotate your top knee toward the ceiling as far as it will go without your pelvis rolling back. Lower slowly. That's one rep. This movement targets the gluteus medius, the smaller glute muscle on the outer hip that most people have zero awareness of. It's the one that keeps your knees from caving inward during squats.
Do 15 reps on one side before switching. If you feel this mostly in your outer thigh instead of the side of your glute, slow the movement down and think about driving the knee up with your hip rather than your leg. The clamshell is a subtle movement. Rushing through it defeats the purpose. Two sets each side takes about two and a half minutes and you will feel the difference by the second set.
Use the light Vergali band here if you're just starting out. The medium band works well once you're comfortable with the movement pattern. The heavy band is genuinely challenging for clamshells and is better saved for later in your training cycle.
Step 2: Glute Bridges (2 sets of 12)
Keep the medium band just above your knees. Lie on your back with your knees bent and feet flat on the floor, hip-width apart. Press your feet into the ground and drive your hips toward the ceiling by squeezing your glutes. Hold for a two-count at the top before lowering. The band creates outward resistance that forces you to actively push your knees out through the entire movement, which is exactly the cue most people need to engage the glutes instead of letting the hip flexors take over.
At the top position, your body should form a straight line from your shoulders to your knees. If your lower back is arching significantly, you're probably hyperextending instead of actually squeezing the glutes. Think about tilting your pelvis slightly forward at the top and tucking the tailbone. That small adjustment shifts the work back into the posterior chain where it belongs. By set two, you should feel a clear burn in the glutes and not much in the lower back.
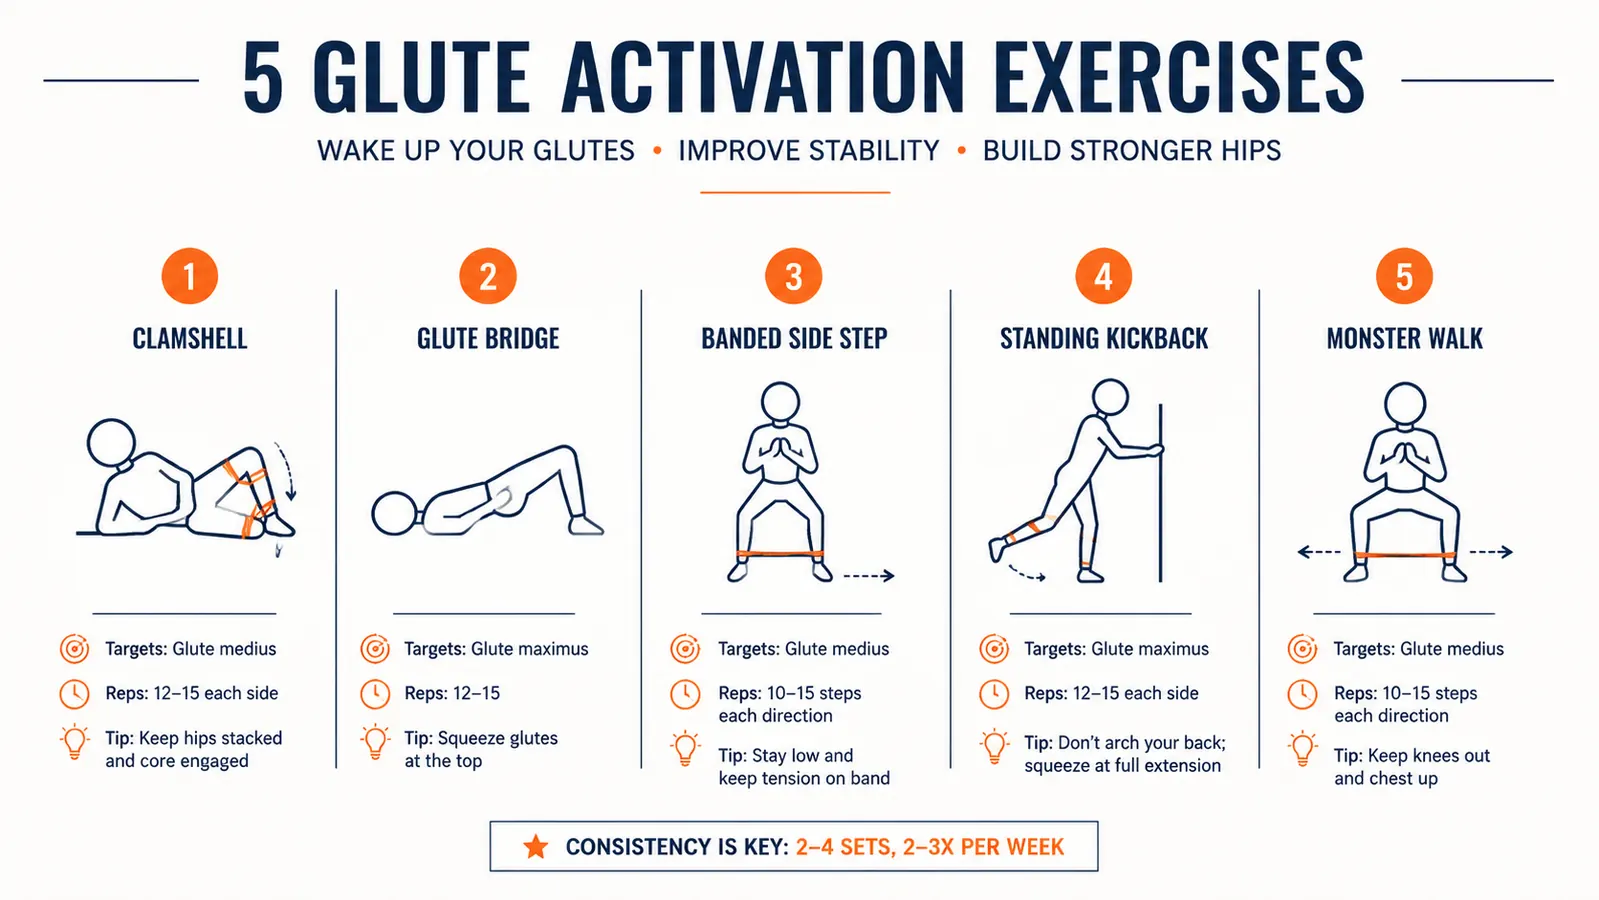
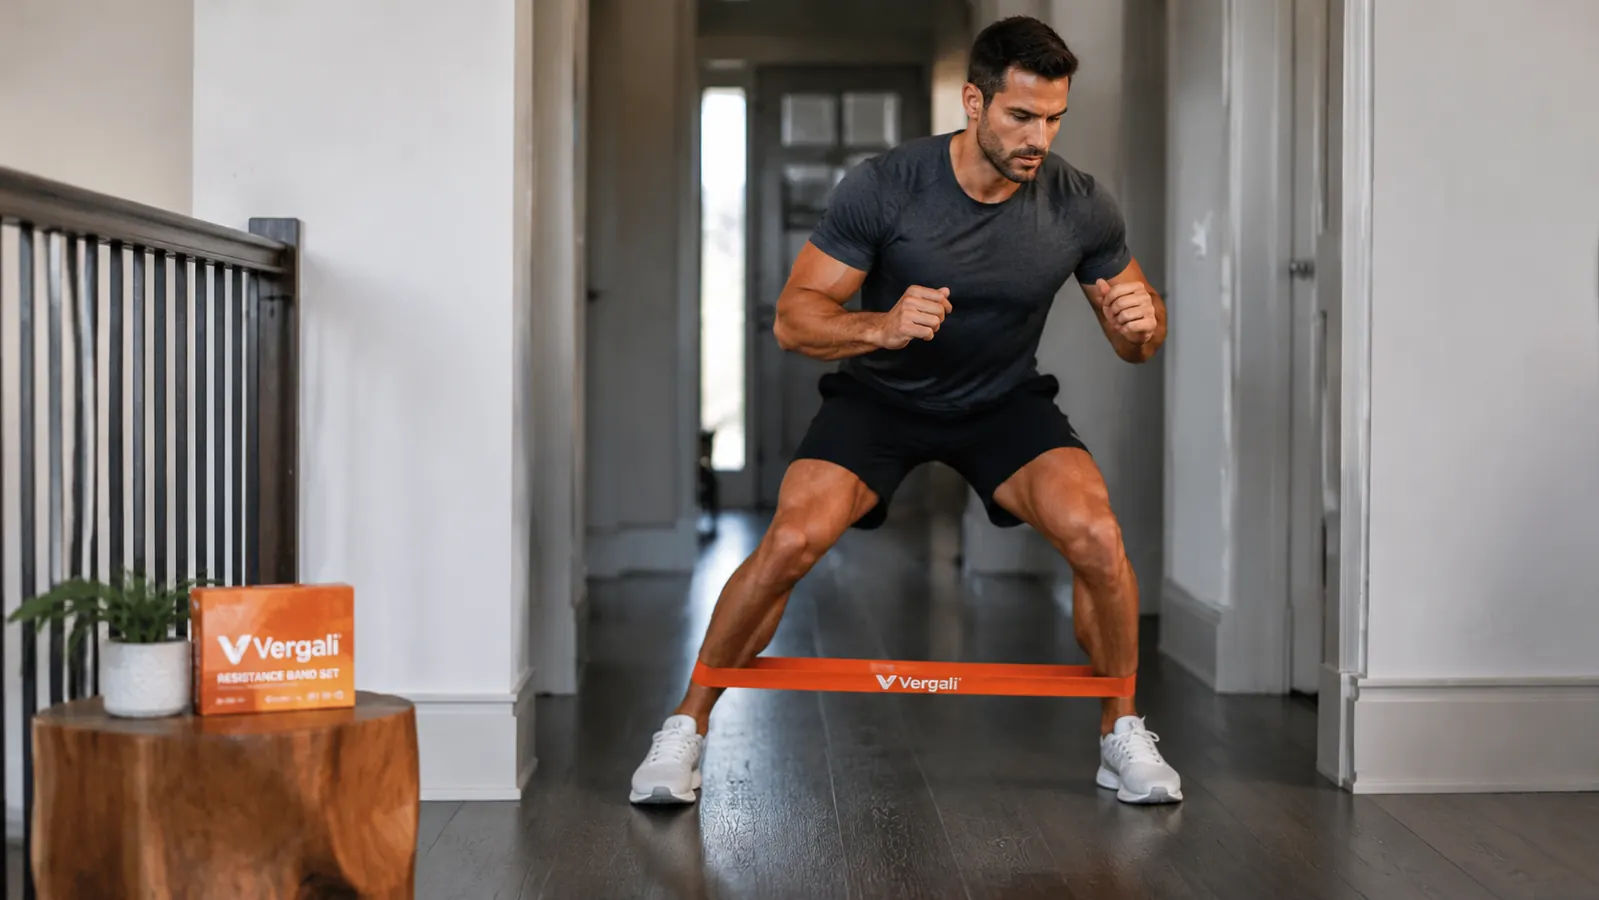
Step 3: Banded Side Steps (2 sets of 15 steps each direction)
Move the band down to just above your ankles for this one. Stand with your feet shoulder-width apart and a slight bend in the knees, like a quarter squat. Step laterally to one side, maintaining the tension in the band the entire time. Don't let your feet come together fully between steps. Keep constant tension. Fifteen steps in one direction, then fifteen back. That's one set.
The side step is one of the best exercises for the gluteus medius and minimus, the muscles that stabilize the hip during single-leg phases of walking, running, squatting, and deadlifting. If these muscles are weak, your hips drop and shift during every rep of a heavy compound lift. Band side steps directly address this. The Vergali medium band provides enough resistance to make these feel genuinely challenging without restricting range of motion. The heavier band tends to cut the stride too short for most people during this exercise.
By week three of adding this warm-up, I stopped getting that familiar lower back tightness after deadlifts. The glutes were finally showing up to work.

Step 4: Standing Glute Kickbacks (15 reps per leg)
Loop the medium band just above your ankles again. Stand near a wall or sturdy surface to hold for balance. Shift your weight onto one leg, keep a slight bend in the standing knee, and kick the opposite leg back and slightly up, squeezing the glute hard at the top. The movement should come from the hip, not the lower back. Your spine stays neutral throughout. If your lower back is arching as the leg goes back, you are going too far. Stop where the glute is actually doing the work.
Fifteen reps per leg. You do not need to rest between sides on this one. The kickback isolates the gluteus maximus in a way that bridges and side steps don't, specifically targeting the upper and outer portion. This is also a great proprioceptive exercise since you're balancing on one leg, which improves single-leg stability that carries over directly to deadlifts and lunges. If the medium band feels too easy by your third or fourth week, move to the heavy band for kickbacks.
Step 5: Monster Walks (2 sets of 20 steps)
This is the final piece and the one that ties the whole warm-up together. Band around the ankles, slight squat position, take diagonal steps forward alternating feet. Then walk backward the same way. The monster walk combines the hip abduction from the side step with a forward-hinging movement pattern that directly mirrors the setup for squats and deadlifts. Your glutes have to work in multiple planes at once, which is exactly what they'll be asked to do under load.
Keep your chest up and your torso from rotating as you walk. If you're twisting side to side, slow down and take smaller steps. The goal is to feel a deep burn in the outer glutes and upper hamstrings by the end of the second set. When you do, you know the protocol worked. After five consecutive sessions of running this sequence, the activation becomes more immediate. Your glutes start waking up faster because the neural pathway is getting reinforced every time you train.
What Else Helps
The band sequence is the foundation, but a few other habits amplify how well it works. First, do this warm-up in the order listed. The clamshell and bridge work the glutes in isolation before adding the standing and walking patterns. Skipping ahead to monster walks before the lying work often results in the hip flexors compensating again, which defeats the purpose.
Second, do a set of bodyweight squats immediately after finishing the five steps, before adding any weight to the bar. Pay attention to how your knees track. If they're staying wide over your toes without effort, the activation worked. If they're still caving, run through the clamshells again before loading up. Third, if you sit for most of the day, spending two minutes in a deep hip flexor stretch before the band work makes the glute activation significantly more effective. Tight hip flexors are neurologically inhibiting your glutes. Loosen the front before you try to fire the back.
The Vergali set comes with a printed workout guide that includes a few other band exercises worth adding on non-lifting days as accessory work. The hip hinge pattern with the band around the hips is particularly good for reinforcing the posterior chain pattern outside of your main training days. If you want a deeper look at whether the bands themselves hold up over months of use, I covered that in my full review of the Vergali resistance bands. For more on why bands are so effective specifically for glute development, the breakdown in my piece on resistance bands for glutes covers the physiology in detail.
If your knees have been caving and your lower back has been taking the hit, dormant glutes are almost certainly the reason
The Vergali Resistance Bands set is what I use for every step in this protocol. Four resistance levels, latex-free fabric construction, and a workout guide included. One-time purchase that pays for itself the first week you stop wrenching your back on deadlift day.
Amazon Check Today's Price on Amazon →